Tuesday, August 14, 2007

Project: Falaise Pocket Argentan COMPETITION DAY!

Peace to all,

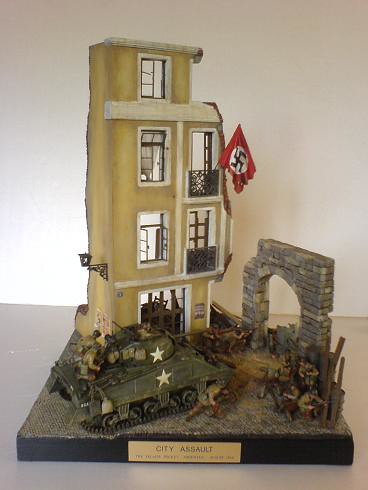
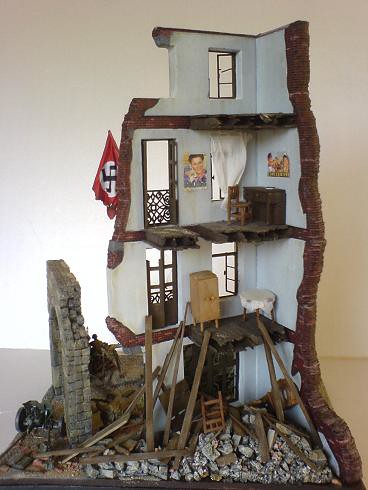
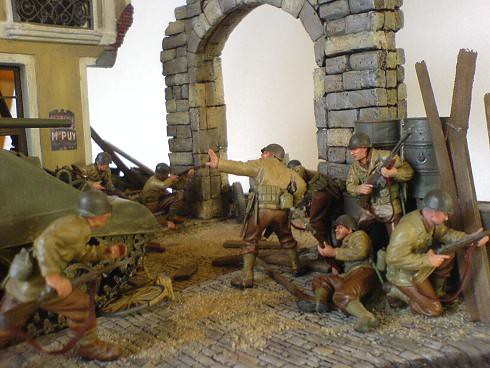
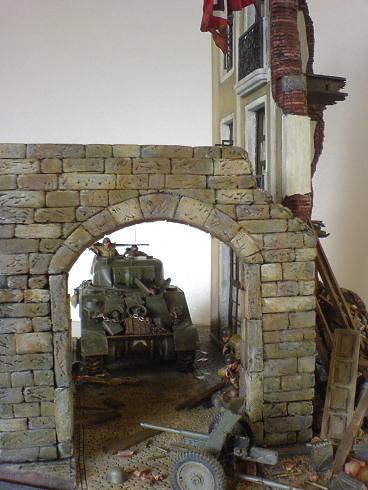
Today is competition day and I took a few more photos and did last minute touch-ups after dat. Here are the photos. I have taken out some things and added some if you noticed. I took out the street lamp cause I placed the anti tank gun further back behind the archway. Another change was that I added posters at the side of the building.


Let me describe to you all the whole process of this project. It went like this:

Stressful: cause I am worried whether I could finish in time. I spend bout 2 1/2 months of my time for this one. There's only 1 competition a year. I don't wanna wait another year.


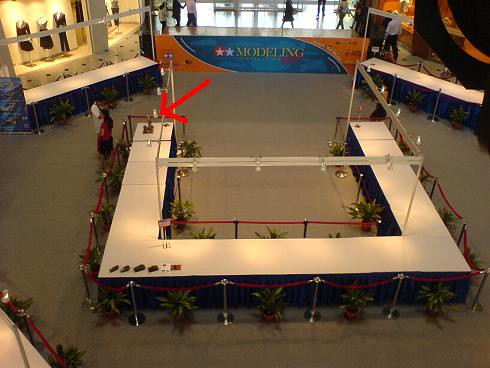
SHOCKING cause I see no one at the competition. I'm very early! Do they give points for that? Darn! Judging is on Sunday.


RELIEF cause now I can relax and wind down and wait for the outcome.
Hopefully I could get a placing in the competition and have some more fun and fufilling modelling days ahead. Lets see what happens this Sunday. I'll snap more photos of the competition when I go back one of these days.

WIP: Falaise Pocket 6 Argentan

After the figures were all done, I started on the M4 Sherman. I airbrushed it with a base coat using Vallejo's olivedrab and light olive in a ratio of 1:8 and it turned out too bright for me. So I repainted it with olivedrab. It nows turns out to be too dark for me.

What I did next was to apply a filters (very diluted light olive) a few layers till it has light coloured patches. I read this from an article from missing-links site. Its very informative cause I did'nt know that washes had different varieties. After thats done, I applied a coat of mat varnish to lock the colours down.


In between I put together the scene to check whether everything fits well.


As I was relaxing, I saw an image of a flag on the building's 3rd storey and got the idea to scratchbuild a German flag. At first I wanted to use a cloth as the flag but it was very difficult to get the shape that I wanted. In the end I experimented using plain printing paper and it turned out fine. At least to my eyes.

Next step, I weathered the tank and figures with the Tamiya weathering set to blend everything together. The tracks of the tank were weathered with flat earth colour and also drybrushed with a mixture of tile grout and earth colours. The Geramn fuel drums were painted with Mr Colour German Grey and weathered with rust colour from Humbrol.
So below is the almost complete setup. I know I forgot to explain something but anyway here you go.