Thursday, June 12, 2008

The 54mm Giant is back!

Peace.
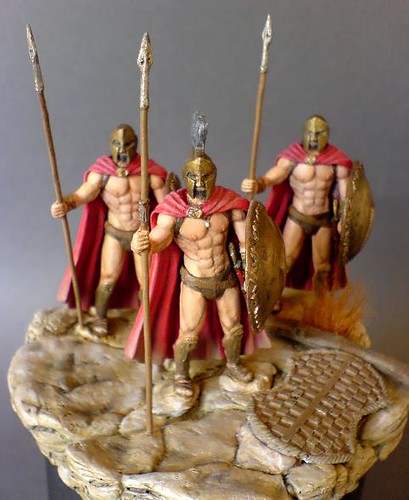
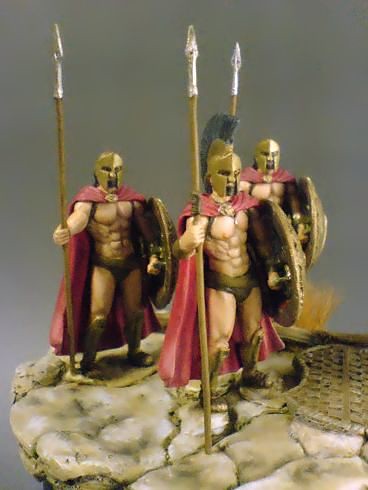
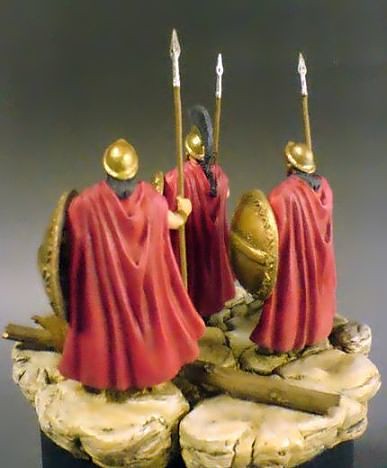
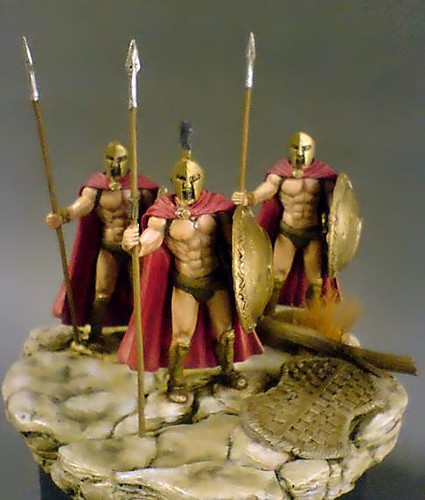
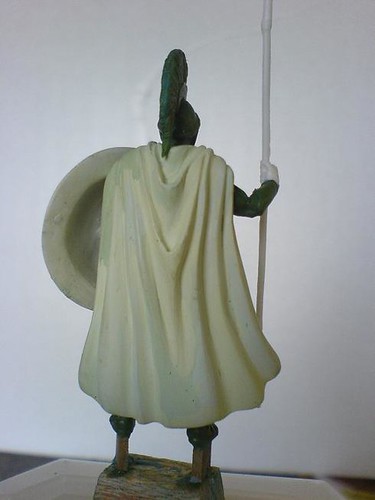
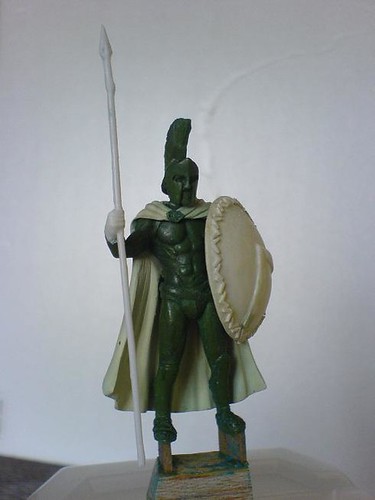
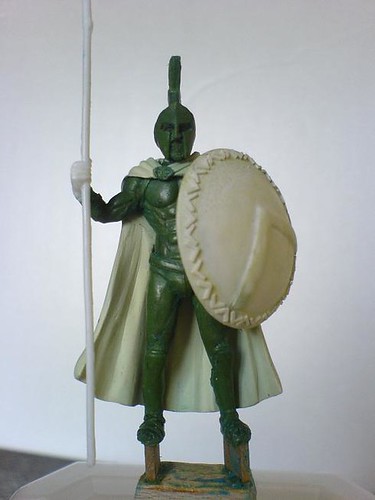
Finally I have some free time to update. This 54mm figure giant have made much progress since I last posted. Here's the latest progress images of my miniature sculpture.


All I need is to add and finetune the details and complete the project. Of course I have some surprises to complement this giant. More update to this 54mm miniature figure project soon.
Peace.

Wednesday, April 9, 2008

A Game to keep you Occupied!

Been busy with work lately and barely have time to sculpt. Progress have been slow. However here's something to keep you all occupied till I come back. Enjoy!


Thursday, March 20, 2008

Giant with one arm done!


I've added one arm to the body of this 54mm miniature sculpture and will be smoothing out the whole figure once I added all limbs onto this sculpt. The arm appears too long after a longer inspection and I will present a better one on my next post. Adios!

Tuesday, March 18, 2008

Project: 54mm Giant sculpting.


My new project this time is another vignete but I'm not saying anything yet till its 80-90% done. It's another scene from a movie. Probably some of you can figure it out. Anyway here are some very early WIP snapshots of one figure. This is a 'rough cut''of a 54mm giant. Right now i'm just sculpting the basic proportions and posture. For more details tune in on my next post.
Peace.

Friday, January 11, 2008

300 Spartans latest photos


A few more latest photos of the 300 Spartans vignete. I weathered and added wear and tear on the figures. Below is the older version before I added the shrubs.


Thursday, January 10, 2008

300 Spartans Vignete.

The vignete is at its completion stage. Here some pictures that turned out well. I did some more weathering and will take some more photos of the latest process.


WIP 300 Spartan: Making the vignete base

Peace!

Time for blogging my latest work: vignete of three Spartan warriors. I decided to create a base for three figures. I decided to create a rocky cliffside as the scene just like what we saw on the movie 300.

I began using terracota clay and then moulded using RTV silicon. The moulding process was a success but my original base broke into pieces as I removed it from the mould. Should have took a photo of it b4 moulding it. Anyway this was after the process.


The vignete base cast in resin

On top of the above process, I also managed to cast my Spartan warrior in resin thus having multiple parts to use make some conversions and have some variations in the poses. I sculpted a Persian shield using putty and styrene to add to the base.


Moulding and casting were quite a tedious process (not mentioning expensive too).It needs alot of care and attention but the end product of seeing my sculpt reproduced in resin was exciting enuff for me.

Birds at War!

Woke up one day last December to the sound of hundreds of chirping birds. That was the most bizarre thing that happened in the last few days of 2007. Reminds me of the film Birds by Alfred Hitchcock. Looks like crows vs mynahs. Glad I caught bits of it.


Tuesday, November 13, 2007

WIP:300 Spartans King Leonidas Breakdown


Thought I share this photo breakdown to show how the figure looks like in its unassembled state .


Wednesday, September 26, 2007

WIP: Scratchbuilding 300 Spartans King Leonidas:

Peace!

Time to blog my latest project. More than 5 months back, right after the movie 300 was released, I began compiling photos from the movie from the web. This project was inspired by the book 'Gates of Fire' by Steven Pressfield and the movie 300.

Leonidas was a king of Sparta, the 17th of the Agiad line, one of the sons of King Anaxandridas II of Sparta, who was believed to be a descendant of Heracles. He was one of tree brothers.His name was raised to heroic status as a result of the events in the Battle of Thermopylae. In 480 BC, Leonidas went to Thermopylae with 300 of his personal guard, all with sons to carry on their names, where he was joined by forces from other Greek city-states, who put themselves under his command to form an army 7,000 strong. This force was assembled in an attempt to hold the pass of Thermopylae against hundreds of thousands of Persian soldiers who had invaded from the north of Greece under Xerxes I. Leonidas took only his personal guard, and not the army, because Spartan religious customs forbade sending an army at that time of year. In addition, the Oracle of Delphi had foretold that Sparta could be saved only by the death of one of its kings, one of the lineage of Heracles.Leonidas and his men repulsed the Persians' frontal attacks for the first two days, killing roughly 20,000 of the enemy troops and losing very few of their own.On the third day, a Malian Greek traitor named Ephialtes led the Persian general Hydarnes by a mountain track to the rear of the Greeks. At that point Leonidas sent away all Greek troops and remained in the pass with his 300 Spartans, 900 Helots and 700 Thespians who refused to leave. Another 400 Thebans were kept with Leonidas as hostages. The Thespians stayed entirely of their own will, declaring that they would not abandon Leonidas and his followers. The little Greek force, attacked from both sides, was cut down to a man except for the Thebans, who surrendered. Leonidas was killed, but the Spartans retrieved his body and protected it until their final defeat. Herodotus says that Xerxes ordered to have Leonidas' head cut off and put on a stake and his body crucified. This was considered sacrilegious.The tomb of Leonidas lies today in the northern part of the modern town of Sparta.


The figure was sculptured from epoxy putty and miliput in 1/35 scale. I completed the torso minus the cloak more then 4 months back and finished the rest last month right after the Tamiya Competition.


The cloak was a second attempt after the first one did not turn out that realistic. What I realised is that by mixing miliput and greenstuff, I have a better sculpting material. The greenstuff kept the miliput flexible when dried and the I also can sand the dried mix to a smooth finish. What I got was the best of both worlds.


I also reworked the shield and added a repeat pattern round. I managed to cast the the spear from resin. The next step is to get this sculpt painted and mounted on the display case. Anyway check out a sculpting blog here

http://www.timelinesforum.com/forums/showthread.php?t=4598&page=3 to learn about miniature sculpting.


Sunday, August 19, 2007

Sweet Victory! Sweet Experience!


My winning entry(Tamiya Modelling Competition 14-19 Aug 2007).
Peace,
All praises and thanks to God, the Lord of the worlds. It was a gloomy and rainy day at Millenia Walk but it was a fun and exciting experience for me at the Tamiya Modelling Competition 2007. All because my entry was a winner at the dioramas section. It was even sweeter cause this is my first time taking part and second diorama I attempted since picking the hobby up again after many years.

I'm glad that I documented the WIP in pictures and be able to remember this sweet memory for years to come. Of course this will inspire me to go for more challenging projects ahead. God willing.

Here are photos of the 5-day event and some of the modelling winners. Enjoy! Hurray! More pics at the convention:http://www.outthere.info/tamiyacon07/page1.htm


Tuesday, August 14, 2007

Project: Falaise Pocket Argentan COMPETITION DAY!

Peace to all,

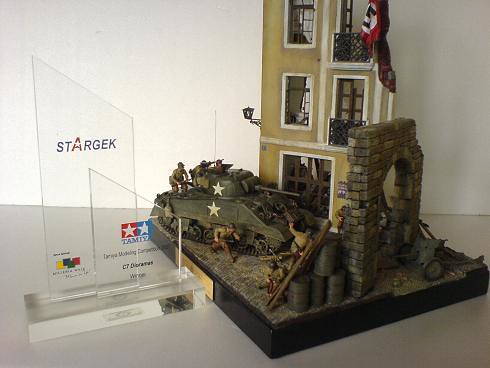
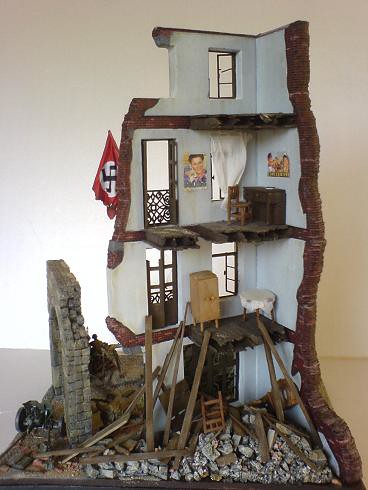
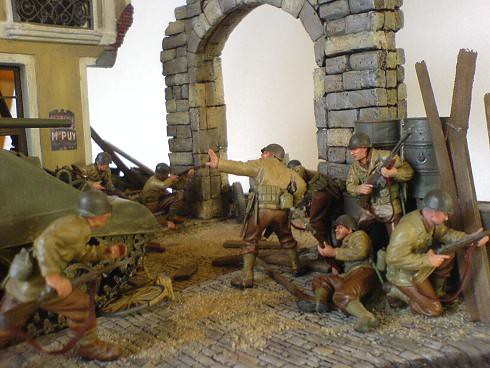
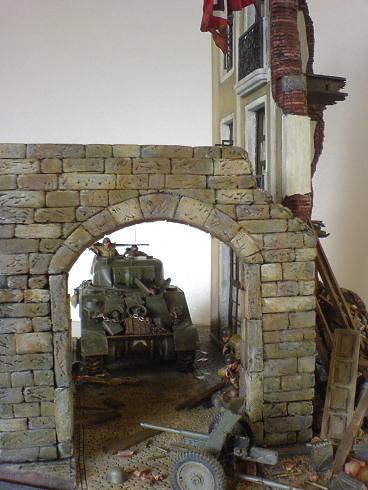
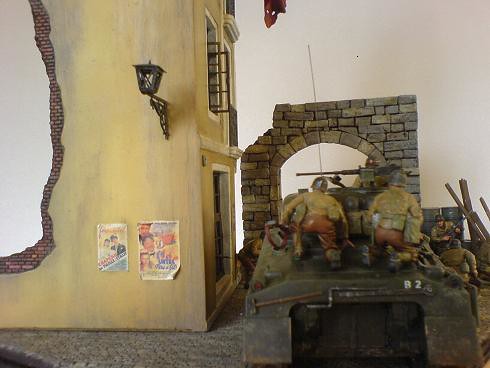
Today is competition day and I took a few more photos and did last minute touch-ups after dat. Here are the photos. I have taken out some things and added some if you noticed. I took out the street lamp cause I placed the anti tank gun further back behind the archway. Another change was that I added posters at the side of the building.


Let me describe to you all the whole process of this project. It went like this:

Stressful: cause I am worried whether I could finish in time. I spend bout 2 1/2 months of my time for this one. There's only 1 competition a year. I don't wanna wait another year.


SHOCKING cause I see no one at the competition. I'm very early! Do they give points for that? Darn! Judging is on Sunday.


RELIEF cause now I can relax and wind down and wait for the outcome.
Hopefully I could get a placing in the competition and have some more fun and fufilling modelling days ahead. Lets see what happens this Sunday. I'll snap more photos of the competition when I go back one of these days.

WIP: Falaise Pocket 6 Argentan

After the figures were all done, I started on the M4 Sherman. I airbrushed it with a base coat using Vallejo's olivedrab and light olive in a ratio of 1:8 and it turned out too bright for me. So I repainted it with olivedrab. It nows turns out to be too dark for me.

What I did next was to apply a filters (very diluted light olive) a few layers till it has light coloured patches. I read this from an article from missing-links site. Its very informative cause I did'nt know that washes had different varieties. After thats done, I applied a coat of mat varnish to lock the colours down.


In between I put together the scene to check whether everything fits well.


As I was relaxing, I saw an image of a flag on the building's 3rd storey and got the idea to scratchbuild a German flag. At first I wanted to use a cloth as the flag but it was very difficult to get the shape that I wanted. In the end I experimented using plain printing paper and it turned out fine. At least to my eyes.
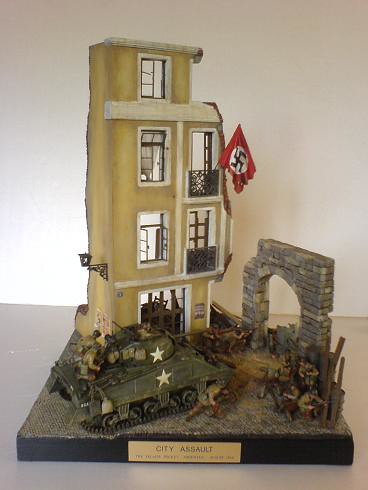
Next step, I weathered the tank and figures with the Tamiya weathering set to blend everything together. The tracks of the tank were weathered with flat earth colour and also drybrushed with a mixture of tile grout and earth colours. The Geramn fuel drums were painted with Mr Colour German Grey and weathered with rust colour from Humbrol.
So below is the almost complete setup. I know I forgot to explain something but anyway here you go.